- Set a shopify account.shopify account page and dashborad looks like this.


-
Set up a shopify shop with some products here.
-
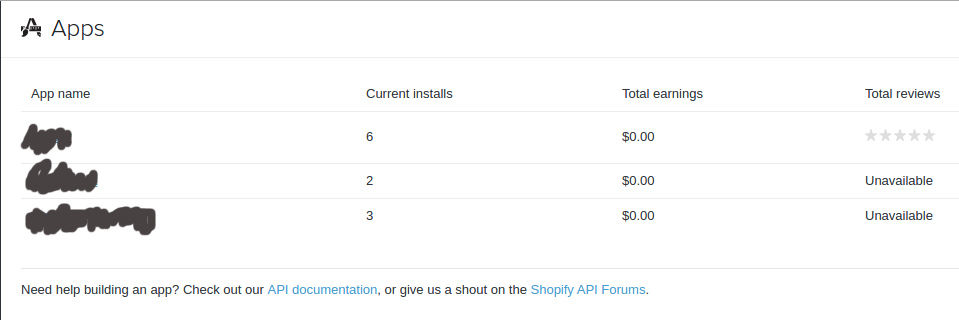
Now get a shopify partners account here if you don’t have one, then login here after you have created one.Partners account dashboard looks like this.

-
Register an app, get shopify api key and shopify api secret.
-
You can also skim through the docs here to understand how we will use it.
-
We will be using shopify django app present on github for building our shopify-app. In the readme you will see all the instructions needed to get the environment runnig, which we will use for making the shopify apps.
-
Before your shopify app is up, we need to to provide django with the api secret and api key in ‘settings.py’. I would recommend using two scoops approach and use different ‘secret-setting.py’ files for your dev, test and production environments. So that you can move the code seamlessly between them, and these files shouldn’t be tracked by your git or bitbucket repo.You also have to set the permissions for you app here i.e which permission would your app need from the user, so that shopify can ask for authorisation.Read more about permissions here.
-
By now, I hope your bare bones app is ready.
-
Now we will dig a little deeper into shopify django app code, take a moment to look at line 31 here. We observe that in our views we have the shop url and access-token available in session. which we can save for later refrence in-case our app needs it.
-
take a look at following code:
1
2
3
4
5
6
7
shop_url = request.REQUEST.get('shop')
shopify_session = shopify.Session(shop_url

request.session['shopify'] = {
	"shop_url": shop_url,
	"access_token": shopify_session.request_token(request.REQUEST)
}
-
To build your app beautiful you may need to know hmtl, css, js, python and offcourse django but in addition to that you should also go through liquid docs or tutorials here which will be of great help even outside the scopr of shopify.
-
Now comes the real fun i.e to play with the shopify api. As you now have the credentials to the shop who has installed your app so you can change everything given that permissions have been granted to you by installing the app. what can you do with api, well pretty much anything.Take a look at the docs here to get a clear idea. For example the following code snippet will get all the products from the shopify shop.
1
products = shopify.Product.find(status='any')
product has other properties too, check docs here.
-
There is also a neat way to inetract with shopify api where you can test your snippets for instructions please read this article.
-
By writting your models views and templates according to your application needs, you can use the information provided by shopify in for many uses, you can also modify it and save it or show some results after you have processed it.The possibilities are endless.
-
Once you are done. You can go to the login page (yourshopurl/admin), enter you credentials for the shop we created at the start.Then install your app by entering the shop url and authenticating the install. You will allow the permissions for the app, after that you will be redirected to the url(redirect url), which is mentioned in your app settings of your partners account. Be sure to keep it to localhost:8000 while testing the app.
-
Once you have tested your app and are sure that it is working as desiered, then you can move on to convert the app to beta, so that it will be tested.You can also make it public depending on your preferences,you just have to edit the app store listing of your app in shopify partners account which we created at the start.
Voila! your shopify django app is up and running on the shopify. You can keep track of how many customers have installed it through the partners pannel. Alhtough I have skipped some details to make the process simple but these steps should suffice for most of the cases.

